 |
| Making the internal bracing starts with splitting the quality, straight grained spruce brace wood down to size. Once the wedge is driven into the slab, it pops out with a clappy, happy sound. The tool laying on the floor is "puukko" (aka fisherman's/hunter's/carpenter's knife) - the thing us Finns used to utilize for every walk of life from food supply to cooking to eating to making tools & toys to relating to neighbors & family to putting up a fire to warfare and hunting to law enforcement to whatever you name. It's pretty handy to have a few at hand in case of any need. |
 |
| The grain must be straight and driving pace slow, to make straight splits |
 |
| Here the center seam reinforcement is glued down and the braces are ROUGH split. Enter the plane! |
 |
| Back brace bottoms are contour-sanded on my high-tech contour-sander |

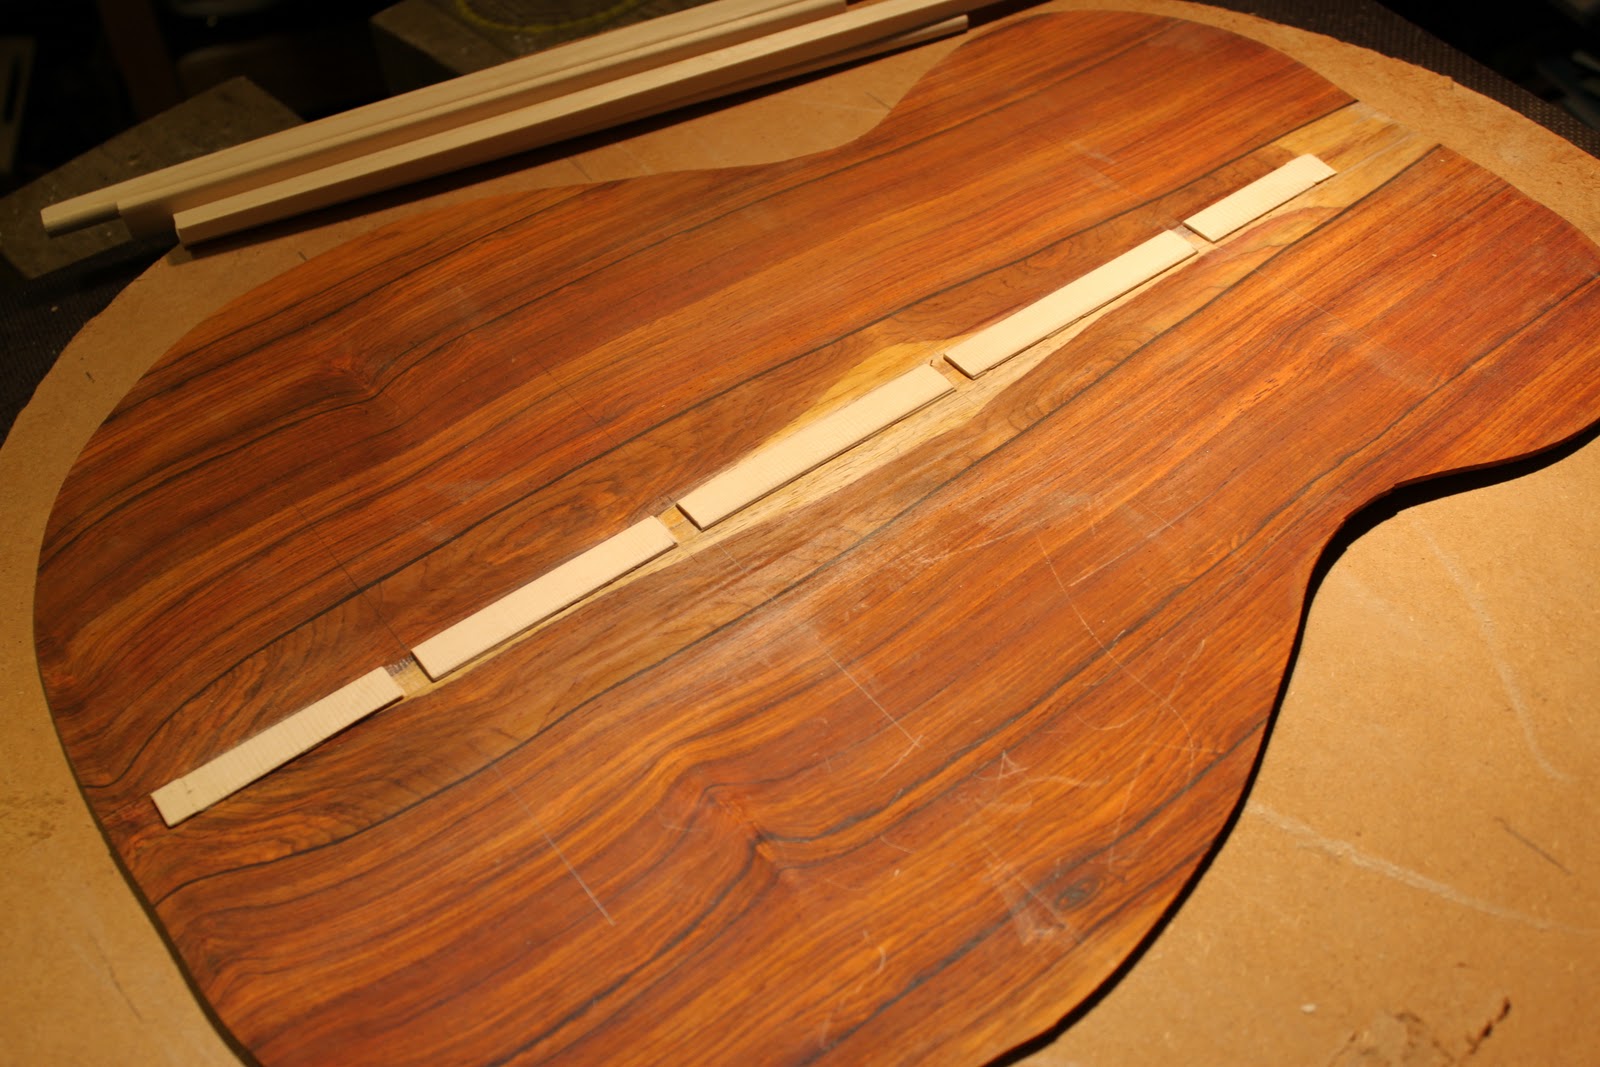 |
| The center seam is notched to house the braces |

 |
| Go-baring again. This is such a handy invetion! |
 |
| Back to the top. All the braces are there, but only part of them shaped. I use a sharp chisel in shaping. The largest braces are scalloped - meaning some material is removed of the brace to make the top lighter and more flexible. The bridge plate (3mm) is made of scrap rosewood. It's reinforcing the bridge area, as it has to resist the pull of the strings for the years to come. The grain goes intentionally a bit off axis, to prevent possible splitting from the string ball ends. |
 |
| Gluing the bridge plate with wooden cauls. Finally all the braces are shaped too. |