perjantai 30. marraskuuta 2012

Neck in the making

Two necks under construction. A few phases of the building here. Plus the recent "oops factor" achievements. Once again I learned that almost anything can happen and yet still almost nothing is irreparable.

I've been trying to find a way to do the scarf joint cut without hand sawing.
Here I got close. But only close. In the end the cut was not deep enough and had to be hand finished
Good ol' planing does the trick. (The other neck was done with the belt sander, thou.)
Gluing the joint. Good cauls and a fair amount of clamps will do this trick
The headstock angle is scarf jointed and the heel stacked. 
The neck shaft routed for truss rod and carbon fibre bars. The heel preliminarily contoured and the tenon cut with a table saw
I cut the channels to the top of the neck using my proper router attached to the playful dremel base. Good enough!
The heel is roughly shaped with the belt sander's round edge
Them twins routed. To your left is a 13th fretter, to your right a 14th fretter. 
Now the mortise is to be cut using a router.
Strictly at the center line, as you can see...
...and this is the result. NEVER make any cut without first trying the bit! This time the shaft of the bit was microscopically twisted in my previous project, causing everything to vibrate and moving the box in its mold. A brief moment of deep desperation and after that some re-thinking. Luckily, I've made so many mistakes I already know that everything can be repaired and covered up later.
After some thought (and settling down of smoke and sawdust) I decided to use my japanese pull saw and chisel to clean up the edges of this terrible, off-set slot. I was happy to notice that the heel of the neck will still cover everything up nicely.
Filled the slot with some neck block material to provide the neck with support it needs and deserves. This time I'm thinking of ditching the motise and tenon approach and try a simpler flush mount and bolts with bolted-on fingerboard approach. Nothing to worry, Jouni, we're still in schedule!

maanantai 26. marraskuuta 2012

Home brewed alternative for Switch-3

I've written before about this nice, no, awesome TC Helicon vocal/guitar processor with a hefty name: Voicelive Play GTX. There is an optional 3-pole footswitch to control the oh-so-many options in the processor. The company is kind enough to provide the diy customer with the schematics to make his/her own footswitch. I already made one, but it turned out to be too small and light weighted to take all the tramping action. In addition, as I thought would happen, the plastic switches couldn't hold their own in use.

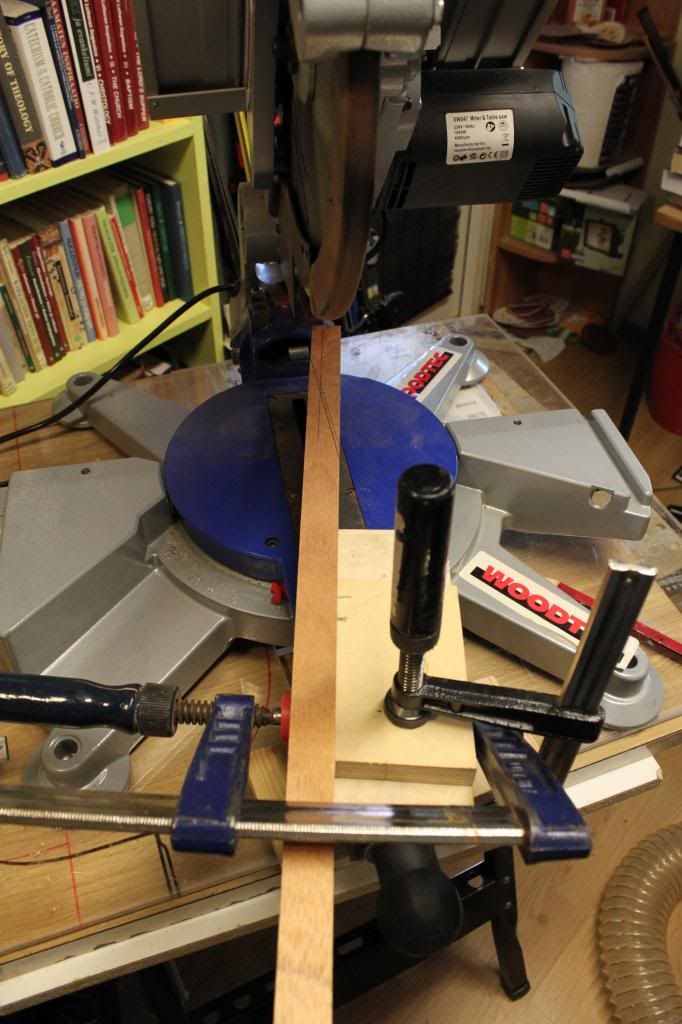
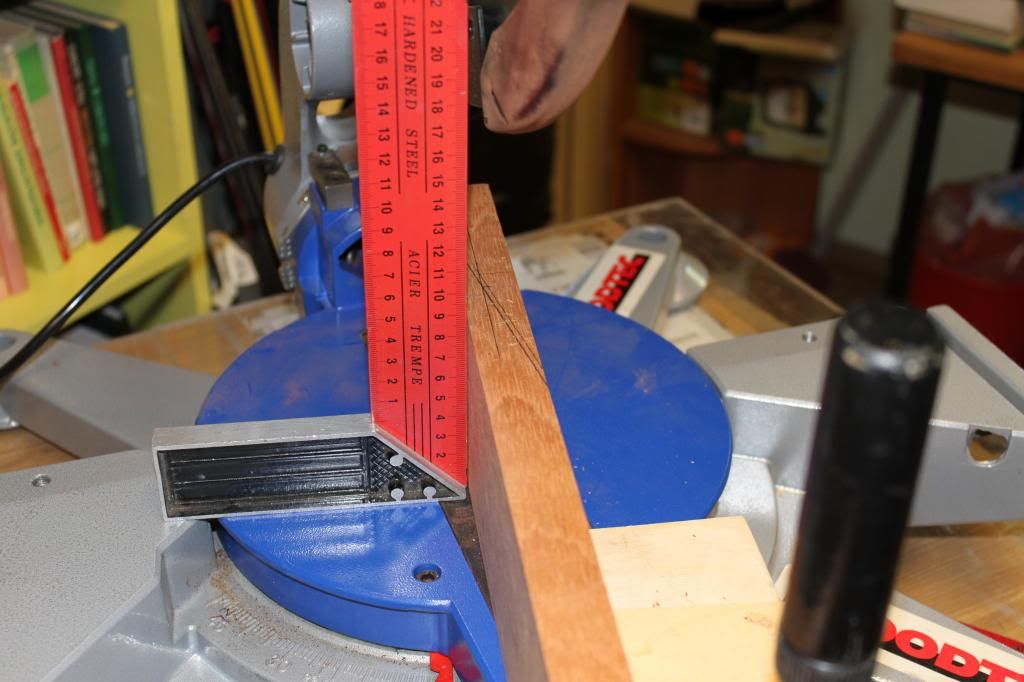
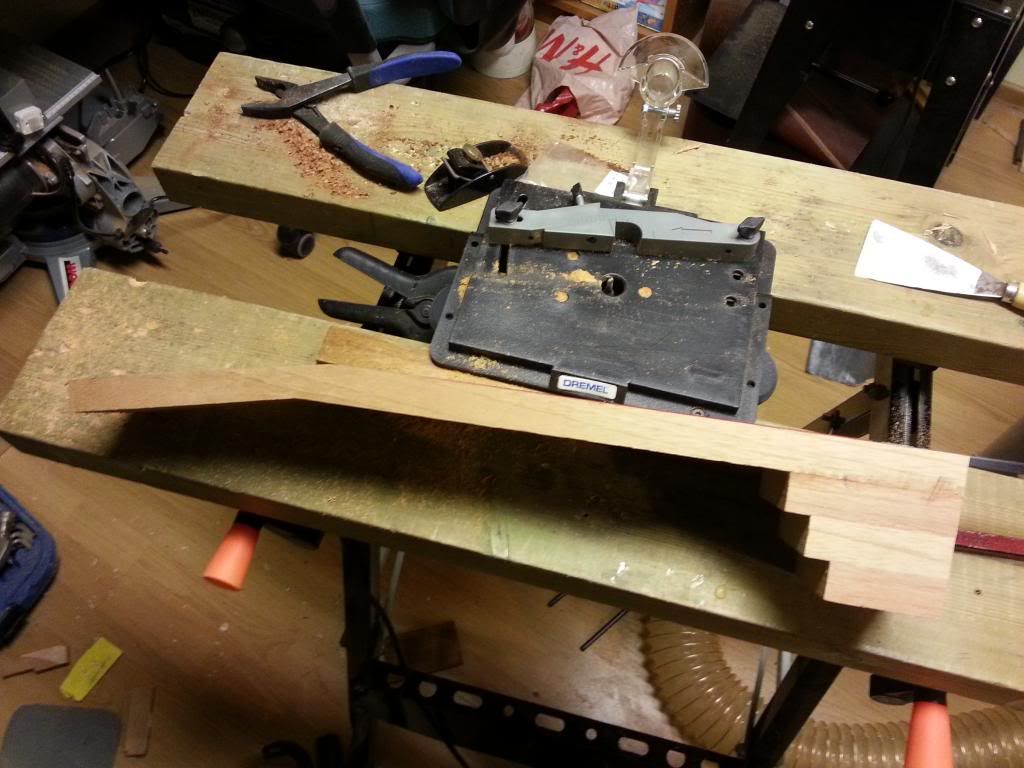
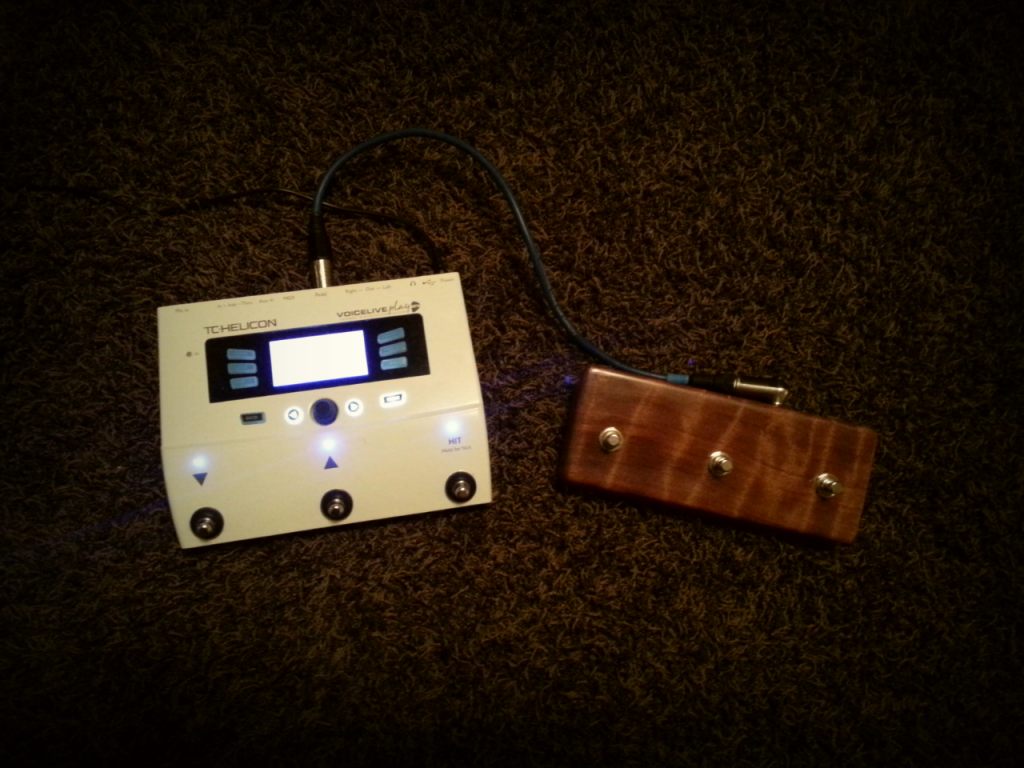
So, back to the bench, I ordered three 
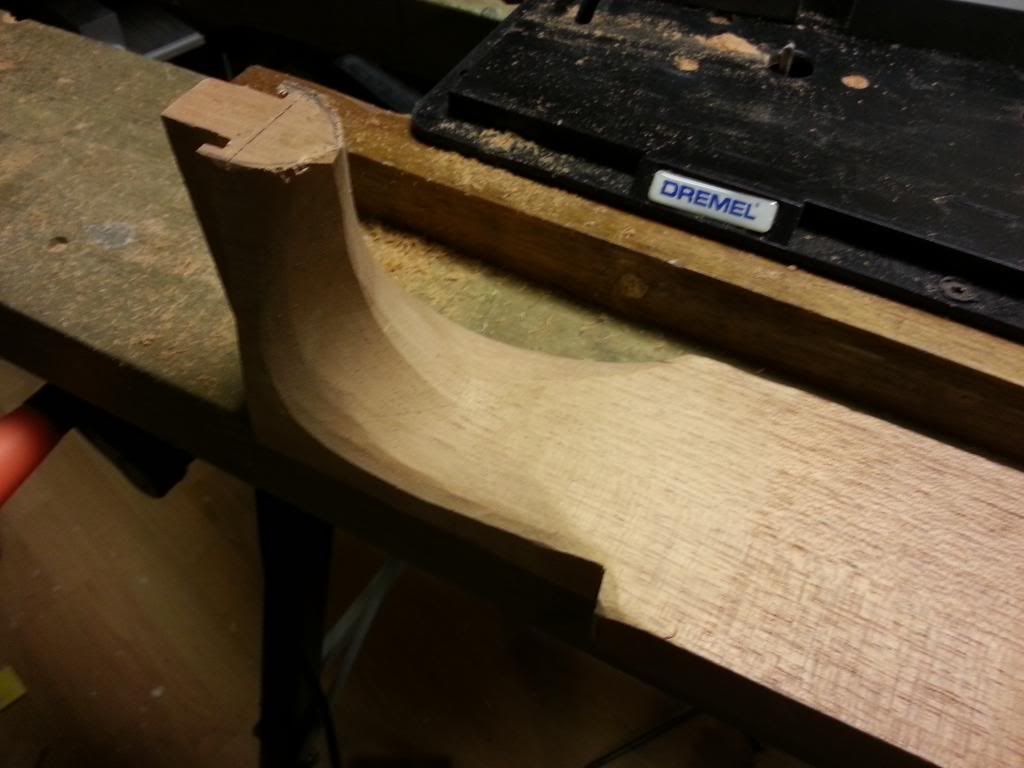
rugged metal momentary switches and made the prototype #2# out of flamed redwood that never made it to be a top of a guitar. This time I made it wide enough to accommodate toes or shoe tip on one button without pushing the others, and deep enough to prevent the box from tipping when pushed. It's working like a charm and looking WAY better than the usual black metal box design.

You can program this optional footswitch to do a plethora of things. Turn on and off different vocal effects and harmonies, set tap tempo, give looping commands, boost guitar and effects etc. I wouldn't be surprised if you could even make some coffee with it.
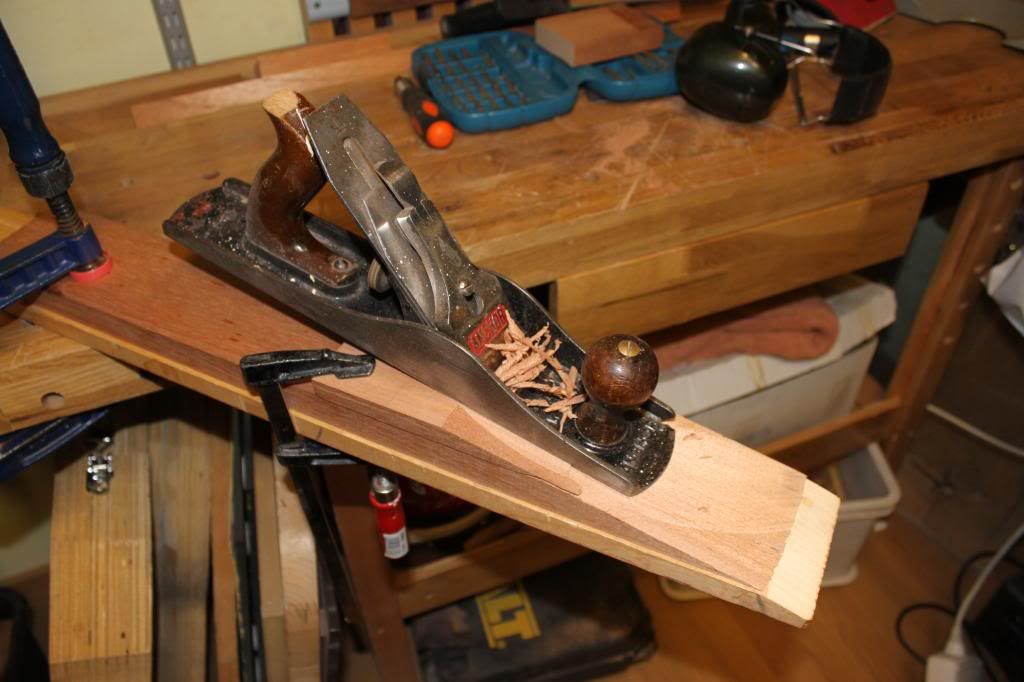
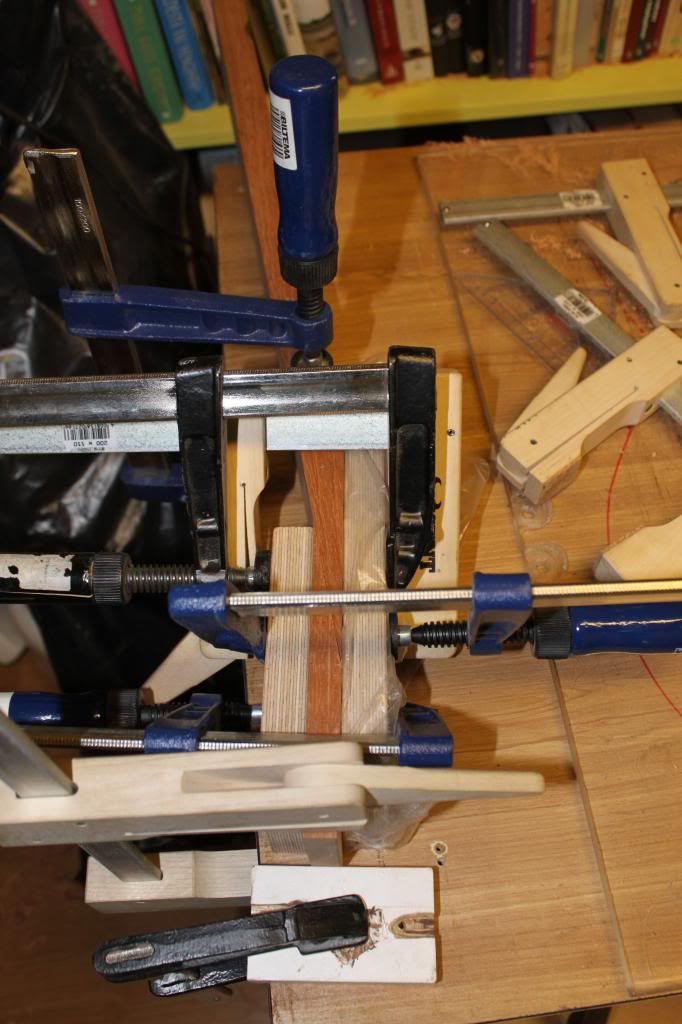
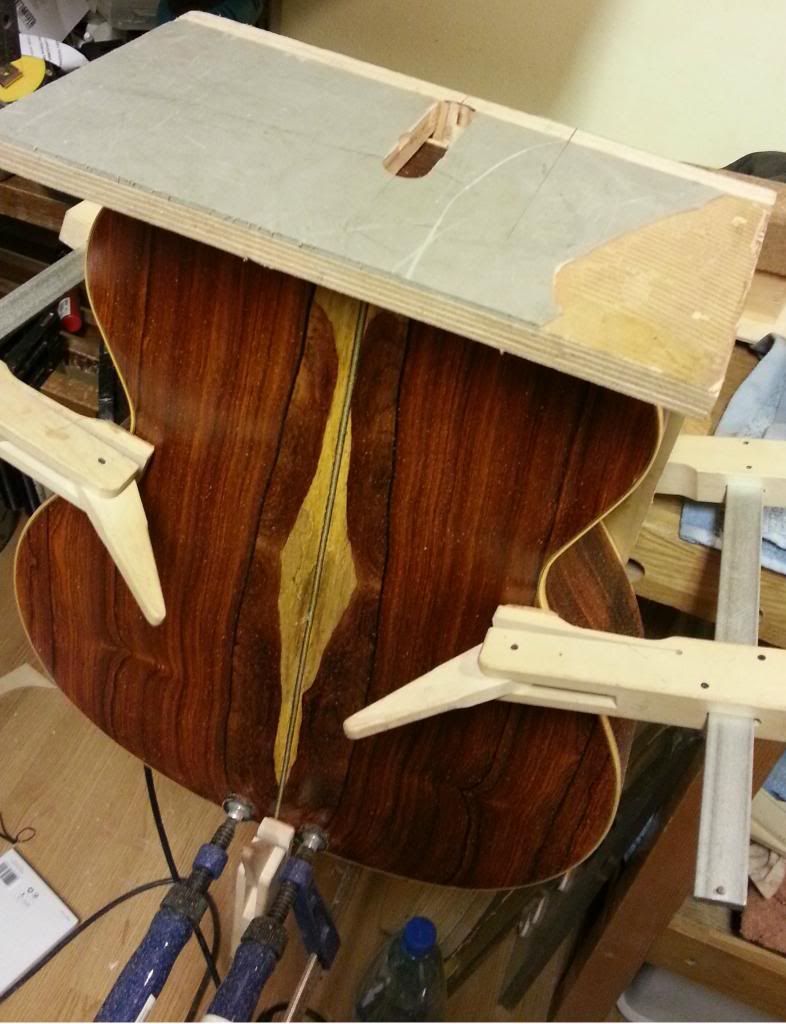
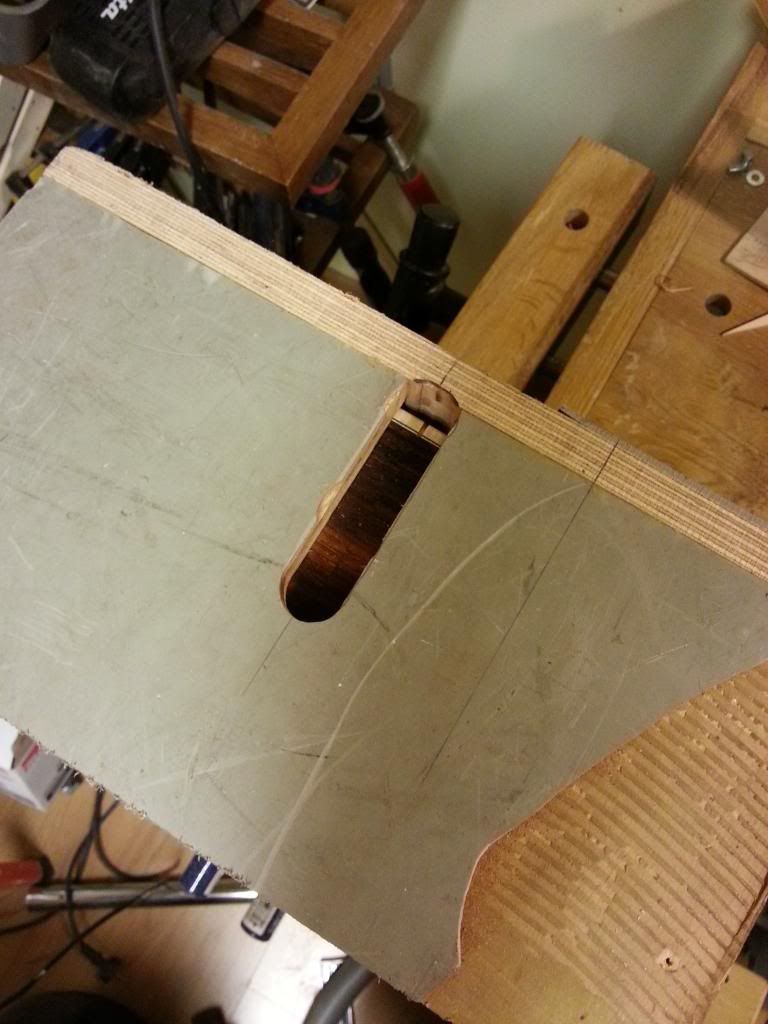
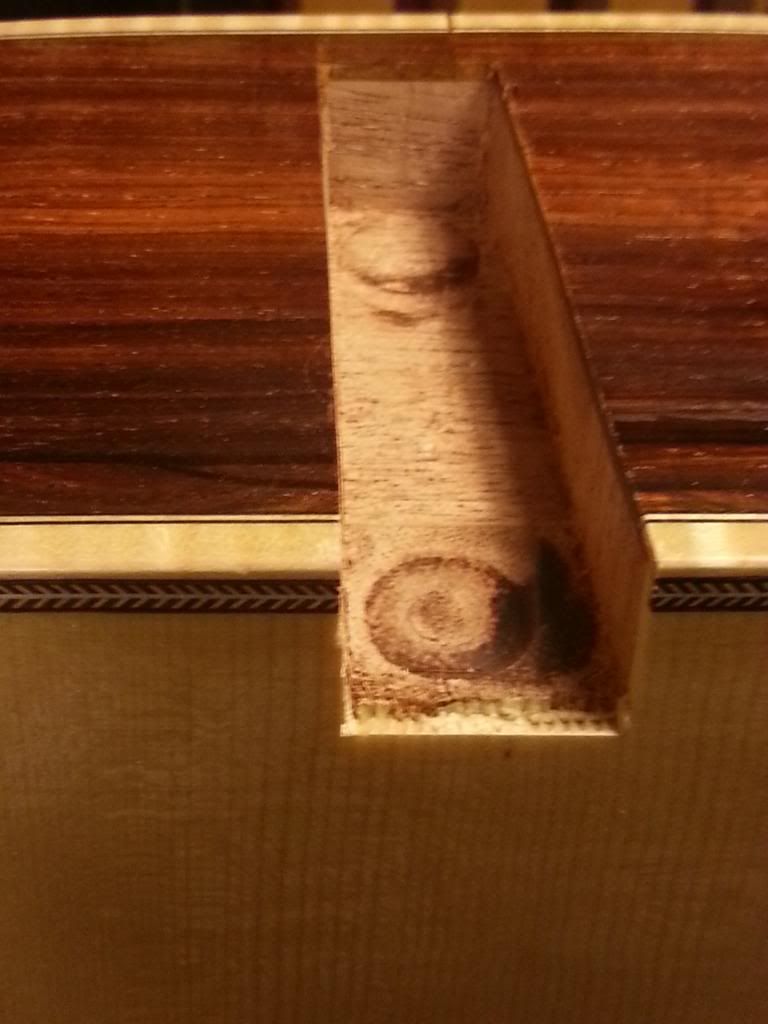
The setup is a very basic wooden box with slanted roof. The intestines were soldered and attached before the bottom  plate was glued in. A layer of foam from what used to be a mousepad keeps the thing from surfing around.