The guitar neck is a major wood work. That's what the Cumpiano book told, and I agree. Many different phases in the build, and quite a few jigs to make to get everything in place. Here are pictures of my neck process, short of fretboard, fretting and actual neck shaping. More of those hopefully tomorrow.
 |
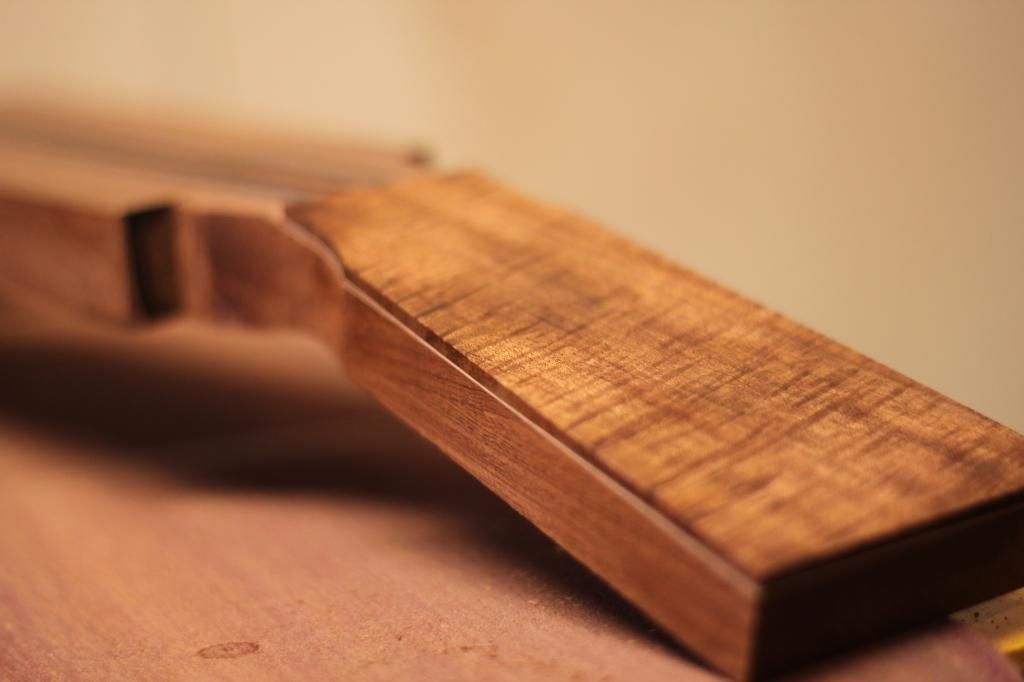
Stacking the heel. When the grain direction is the same
in each layer, it's very hard to tell by a quick look that the
heel was not made of one piece with the neck |
 |
| Keep 'em straight edged |
 |
| Determining the neck angle with fingerboard |
 |
Copying the body-to-fingerboard angle with a
handy almost-a-straightedge-tool |
 |
| The angle is copied at the neck heel... |
 |
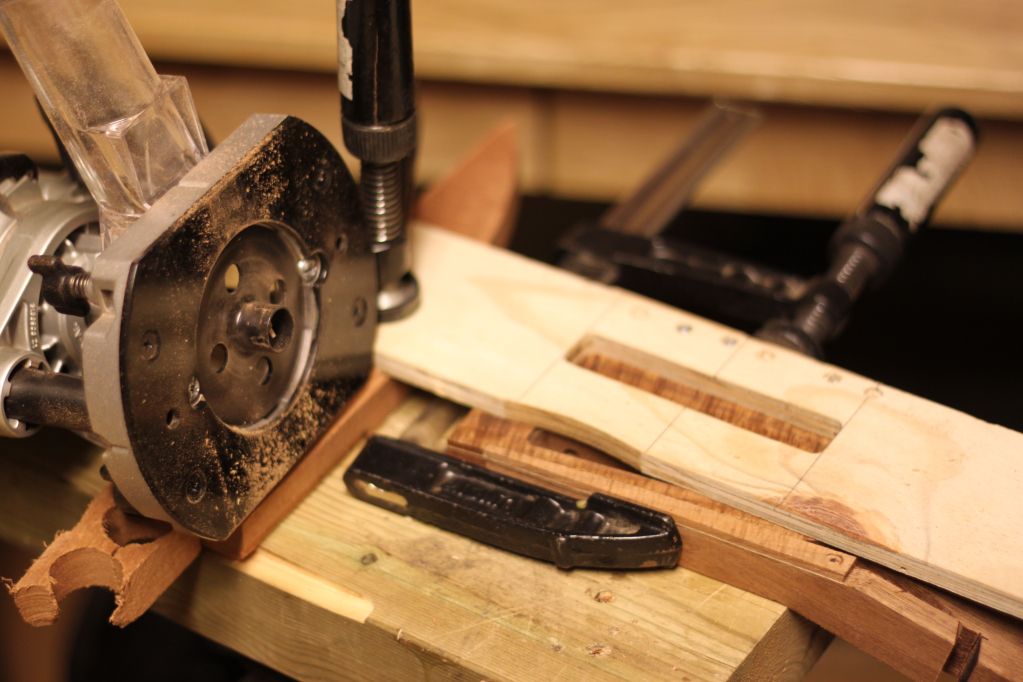
| And the disc sander table is adjusted accordingly... |
 |
| …like that! |
 |
| Truing the neck joint area |
 |
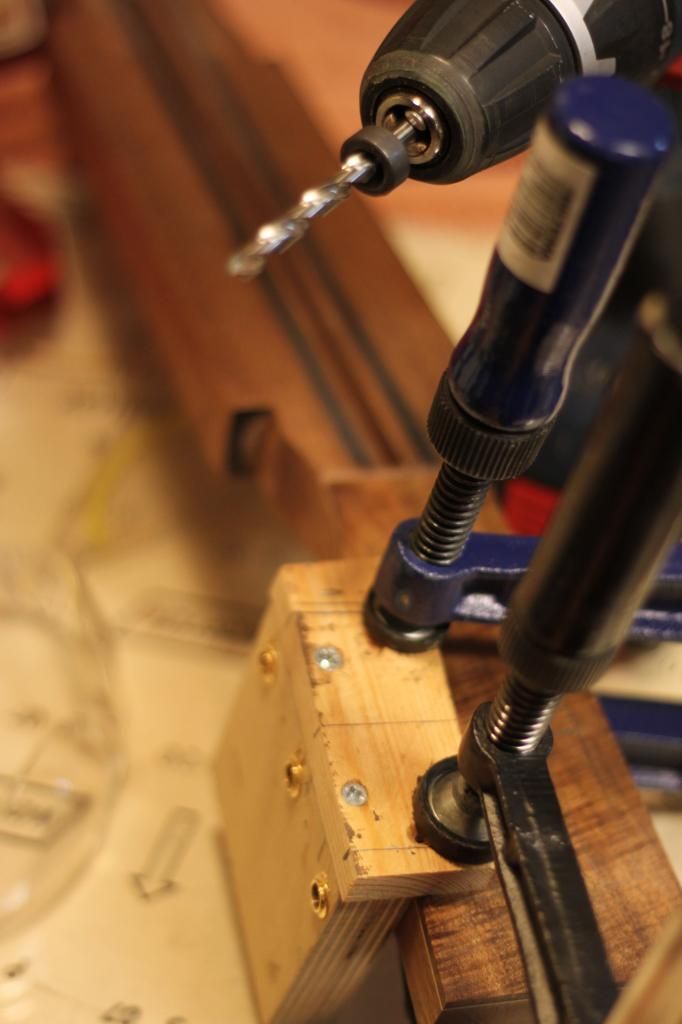
| Jig for drilling the holes for neck attachment threaded bolts |
 |
| Don't go too deep! |
 |
| Twist them in! |
 |
| Deep enough to sand some curve for the joint |
 |
| The same jig is used to drill holes to the soundbox |
 |
| First fit! |
 |
Some tedious sanding with very short strokes and lots of down pressure required.
If the neck tilts during sanding, the joint fit is lost. |
 |
| Checking the right angle |
 |
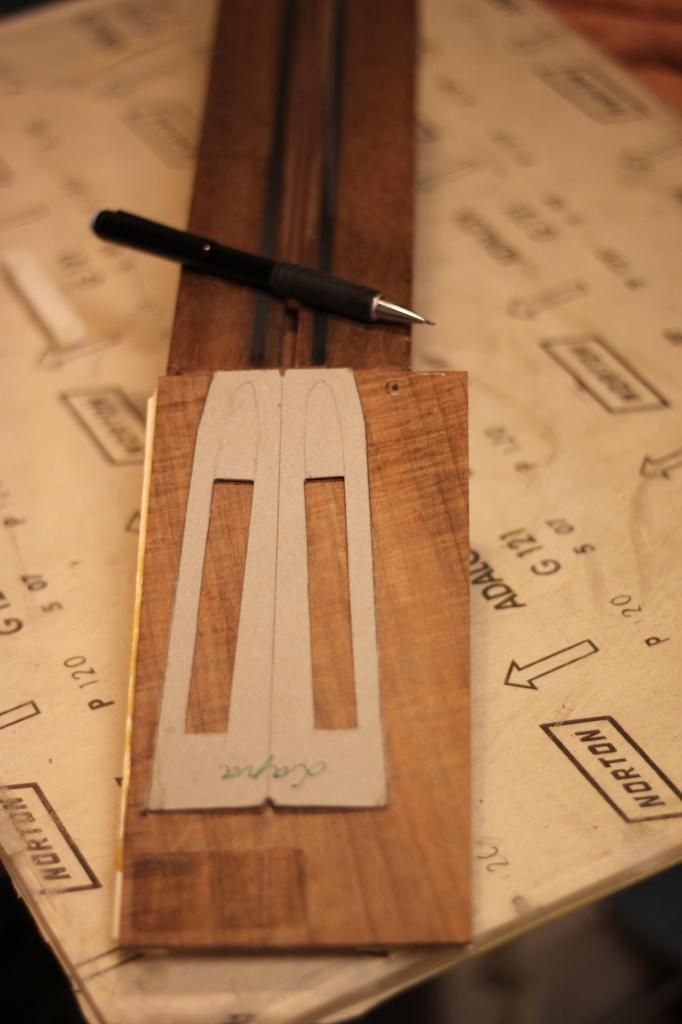
| Jig to route channels for under the fretboard alignment bars |
 |
I fill these cavities with mahogany that is glued in the neck
side and attached with screws in the guitar side.
This increases rigidity and enhances sustain remarkably.
And gets me rid of the mortice and tenon routing of the
whole neck heel length, which makes it a lot easier to fit the
neck with just sanding paper. |
 |
Routing slots for graphite bars. An extra neck blank
doubles as a fence for router. |
 |
| No future twisting expected! |
 |
Threaded bolts are installed in the mahogany bars,
which are later glued to the underside of the fretboard extension.
This allows a totally glue free installation (and pain free removal) of the neck |
 |
| Epoxy |
 |
| Gluing on the head plate veneer with thin maple sandwich |
 |
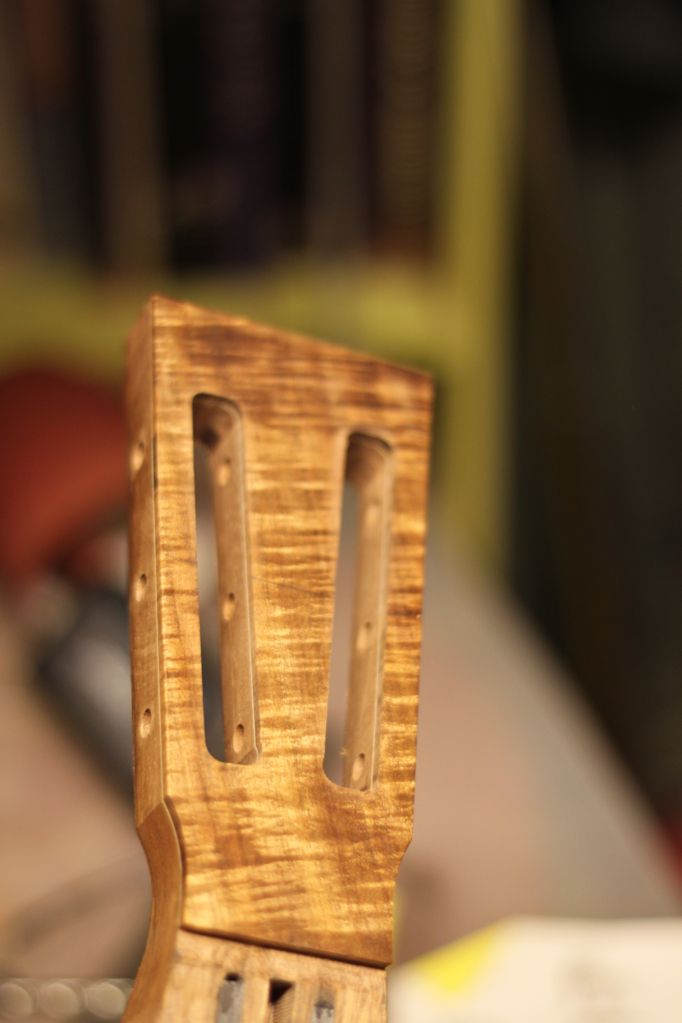
| Headstock shape |
 |
| Already looking guitarish |
 |
| A jig to make the tuning post holes for slot-head guitar. Don't drill too deep! |
 |
| Routing the string slots with a simple jig and a guided router base |
 |
| Tasmanian blackwood veneer |
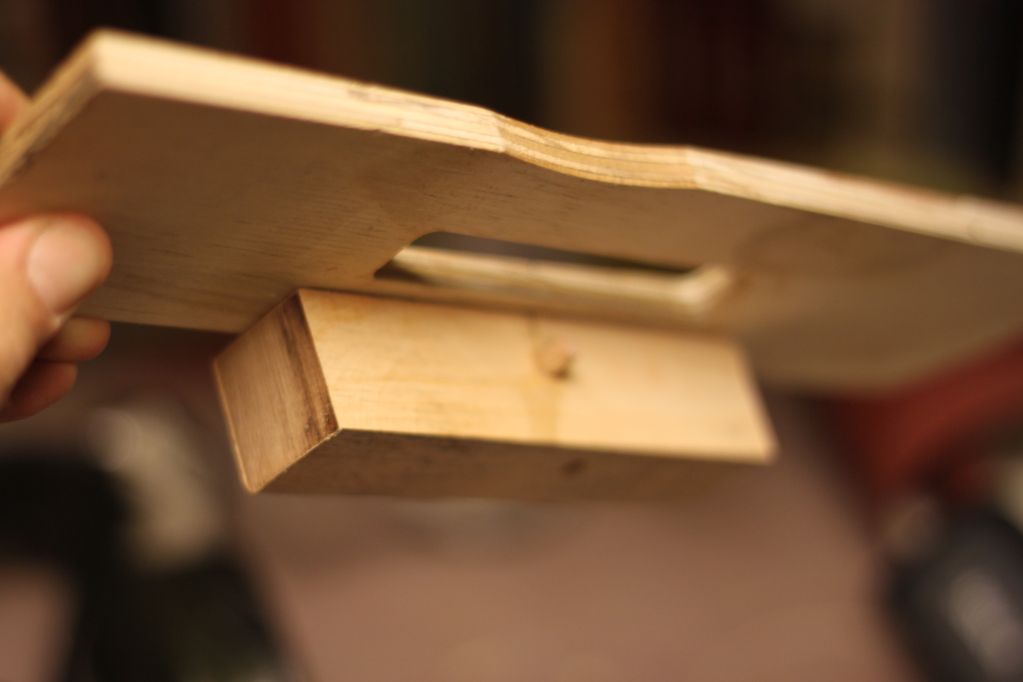 |
| This is the underside of the headstock slotting jig |
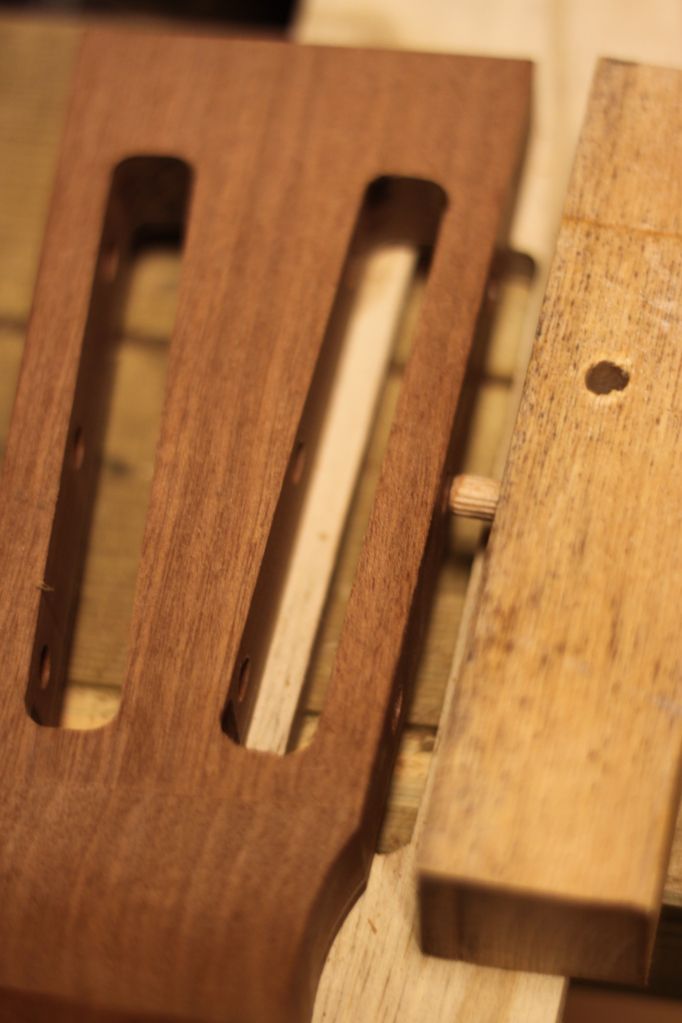 |
| the center dovel centers the slot for both sides |
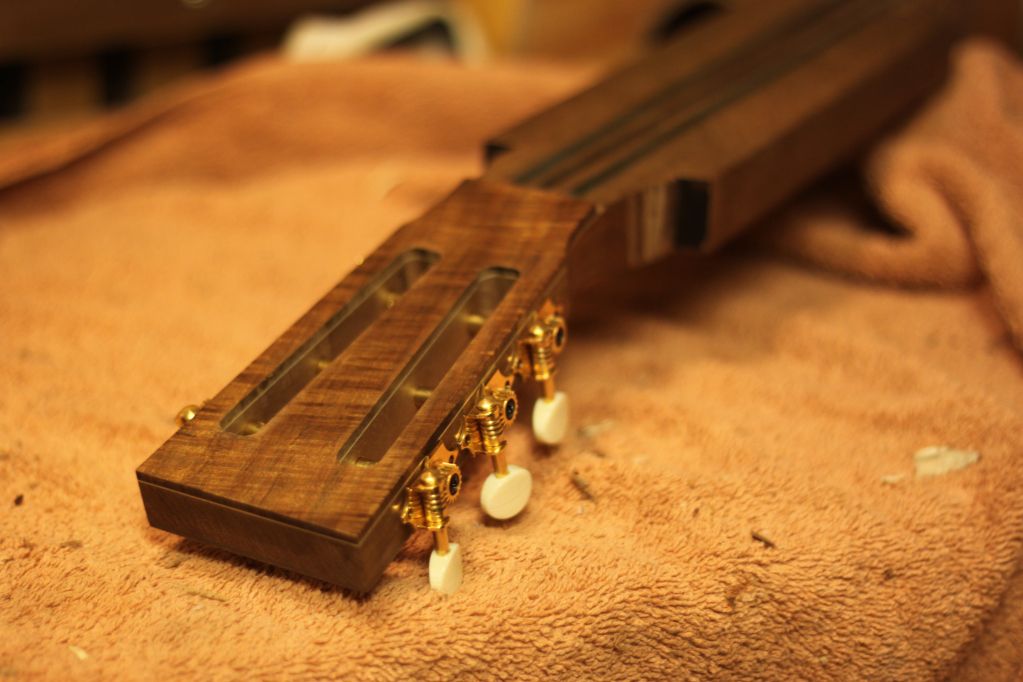 |
A test run with a set of extremely bad tuners that will
never go to any guitar but look ok (former Blueridge guitar machines)
Next up: Fingerboard, fretting and neck shaping. Stay tuned, Internet! |


